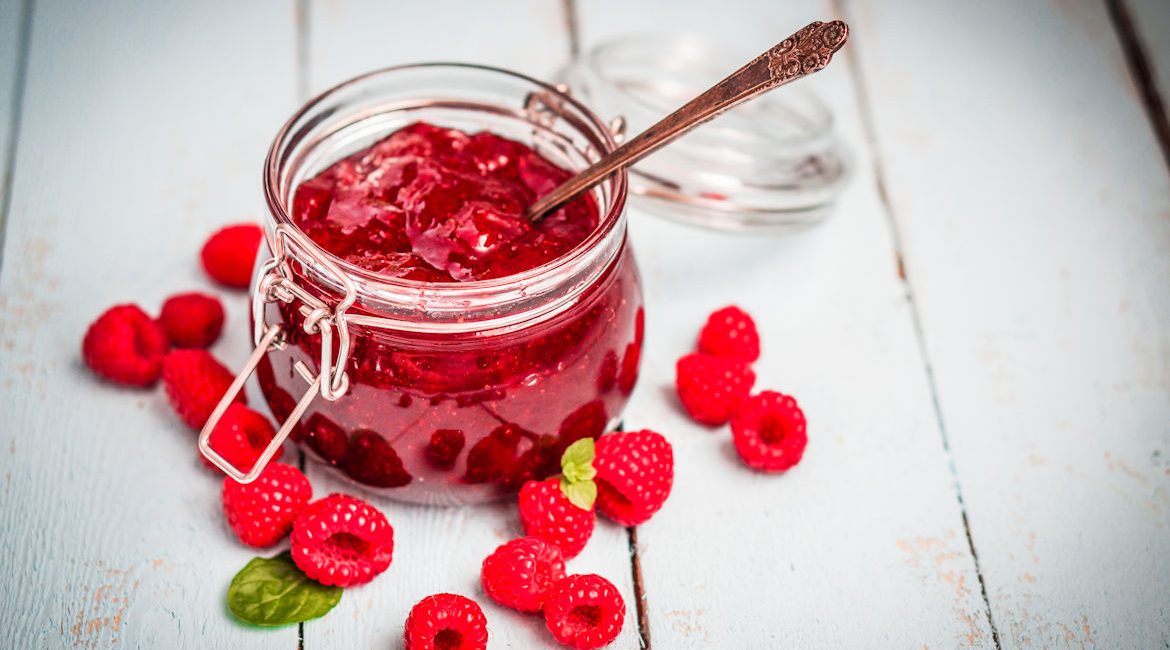
Now that you’ve planted and picked fruit and veggies, aside from eating them raw, what else can you do? My personal favorite is jam. Making jam is a simple and uncomplicated means of preserving fruit, and can be used as a spread on toast, in tarts or pies, and even as a glaze on meats. The combinations are only limited by your imagination.
Let’s begin with strawberry jam. Oh, strawberry jam! The English teatime treat of scones with jam and cream features 3 simple components: scones (plain and unsweetened, they’re a bit like an American biscuit), strawberry jam, and a dollop of whipped cream. Mmmmm!!! While other jams may work, for this particular English-South-African-American mom, strawberry jam is the only real option. It’s a decadent, yet simple, treat.
Some of the jams we’ve made include peach, strawberry, strawberry-rhubarb, blueberry, rhubarb jamalade (a conserve with rhubarb, walnuts and citrus to give a marmalade-like flavor), raspberry, blackberry, and others. The plum jam, made with Ozark Plums, is one of our favorites, with a slight tartness that’s quite delicious.
Note: all the jams I make have only 2 ingredients. Fruit and sugar. Generally, the ratio is about 1:1 fruit to sugar by weight. While I have nothing against pectin (a naturally-occurring thickening agent in fruits that is also obtainable ) or other additions, I wanted to know if jam could be made with less required ingredients. Once I found I could do so with just sugar and fruit, I haven’t turned back. One thing that does need to be noted is that some fruits have more pectin than others, and under-ripe fruit has more pectin than fully ripe fruit. By using about ¼ of the fruit volume as under-ripe fruit, you will naturally add more pectin and be left with a thicker and less syrupy jam.
There are many recipes for making jam online, varying in their complexity of information. This is the basic method I use for making strawberry jam, but also for other jams…
- Rinse the berries in clean water
- Hull strawberries (this means to remove the green leaves & stem that attaches the berry to the plant – see note following)
- Weigh the berries and put in a deep, good-sized pot
- Weigh an equal amount of sugar and (without gulping to greatly at the enormous amount of sugar) add it to the pot with the berries
- Bring it all to a boil over low heat, stirring periodically
- While the jam is cooking, heat your jam jars and new seals and rings in boiling water
- Increase the heat and boil rapidly until it begins to sheet off the spoon (not dripping like water, but more like honey)
- When the jam is sheeting (cooked to about 8 degrees above your boiling temperature for water, which is different according to altitude), it is ready to put into the hot and ready jars
- Spoon the jam into the clean, empty jars
- Wipe the rims of the jars with a damp piece of paper towel or cloth to clean any spilled jam
- Put a seal on each jar and screw on the ring that goes to the jar
- Turn them upside down for 5 minutes
- Turn the jars of homemade jam upright again, and let them cool before storing them
* To hull strawberries there are several options. You can buy a uni-tasking tool that only hulls strawberries, or you can use a knife. My personal tool of preference is my grapefruit spoon (which is like teaspoon with a serrated front edge.) This is a wonderful way to get just the greenery off the strawberry without losing any of the precious, red, juicy fruit.
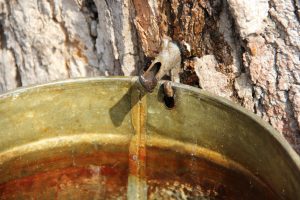
In our small ⅓ acre yard in Vermont we had a single over forty-year-old sugar maple tree. In order to tap a maple tree for some of its sap to boil down to syrup, the tree has to be over forty years old. Sugar maples need winter, with snow on the ground, followed by spring in which days reach 40°F but nights get below freezing to have a good sap run. The sap that is tapped off runs just under the bark and is the part that brings life up from the soil to the branches. A small ¼” hole is drilled just below the bark and a tap is inserted onto which a bucket is hung to catch the dripping, or running, sap. (Most of the bigger syrup-making farms use tubing to make the work easier.) The appearance of leaf buds signals the end of the tapping season.
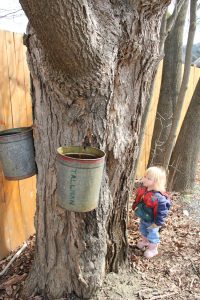
We tapped our tree several different years, and the children got to see the process of tapping, the sap itself, and then the boiling down of the sap to evaporate the 39 parts of water to leave us with the one part: maple syrup. (It takes forty gallons of maple sap from sugar maple trees at least forty years old to make one gallon of maple syrup.)
We made maple syrup with some of our sap. I also made maple cream – the best-tasting maple product to our household. The first time I made it I took some to my husband and he said, “I can see how this could be tasty on toast.” I answered, “Or a spoon, or your finger.”
The most fun maple product to make by far is maple sugar. The maple syrup is cooked to the right temperature and then taken off the stove and you stir it. Quickly. A lot. For a while. It fizzes up as if you’d added baking soda to it, and then suddenly, POOF! All the fizziness is gone and you’re left with the sugar crystals. It was a lot of fun to see, especially the first time when I wasn’t expecting it. Science in the kitchen!
I know that my posts on growing things are more focused on sweet things. The main reason is that those are what thrill me. But there are so many ways to deal with the more savory flavors grown in a garden too, including eating them raw.
Processing foods that you have spent time growing and harvesting takes time, but is worth every minute for the rewards it gives you. You also get opportunities for learning and enjoying the fruits of your labor. Go ahead. Put some seeds into the ground, watch them grow, and then be ready to enjoy what they produce.